
Creating Sunbursts in your Photography
Have you noticed how some photographers create sunbursts (also called starbursts, not to be confused with the candy!) in their images to enhance the feeling and elevate the image a bit? It just seems to add another dimension of interest to the image. I use this technique from time to time in my landscape work. Here are some pointers for you.
To Create a Sunburst
Here’s what you need to create a sunburst (starburst):
~ A bright light source such as the sun, but it can also be street lights or any other strong, concentrated source of light, even glare off water.
~ An aperture setting usually above f/18 although you can achieve it with a wider aperture setting. It's the blades within the lens that cause the multiple rays of flare, so depending on the lens, you could have a different number of blades to create different points of light.
~ The other settings adjusted to make sense and achieve proper exposure.
~ Although it isn't critical, it works easiest with something in front of the light to help 'pinch' it a little so that the light is just peeking out from behind.
Examples for Creating Sunbursts
For this first image, I was out shooting in the evening. The light was gorgeous, but I felt like the viewer wouldn't get full sense of just how yummy that light was if I didn't enhance it in my image somehow. I set my camera's aperture to f/22, shutter at 1/60 (the absolute slowest I can handhold), which put my ISO at 100 for good exposure. I used the rock to 'pinch' the light while letting it wash over the surface resulting in a much more interesting image than without the sunburst.
In this next image, I set my aperture to f/14, shutter at 1/100, with ISO at 1000. I didn't have anything to really pinch the light except for the edge of my lens, so the sunburst is not as defined. I also could have closed down the aperture, but I wanted a more gentle sunburst that would mirror the petals of the sunflower. I have quite a bit of flare in the image which I normally try to avoid, but I liked how it looked here. As the artist, you get to decide if it works for your vision or not!

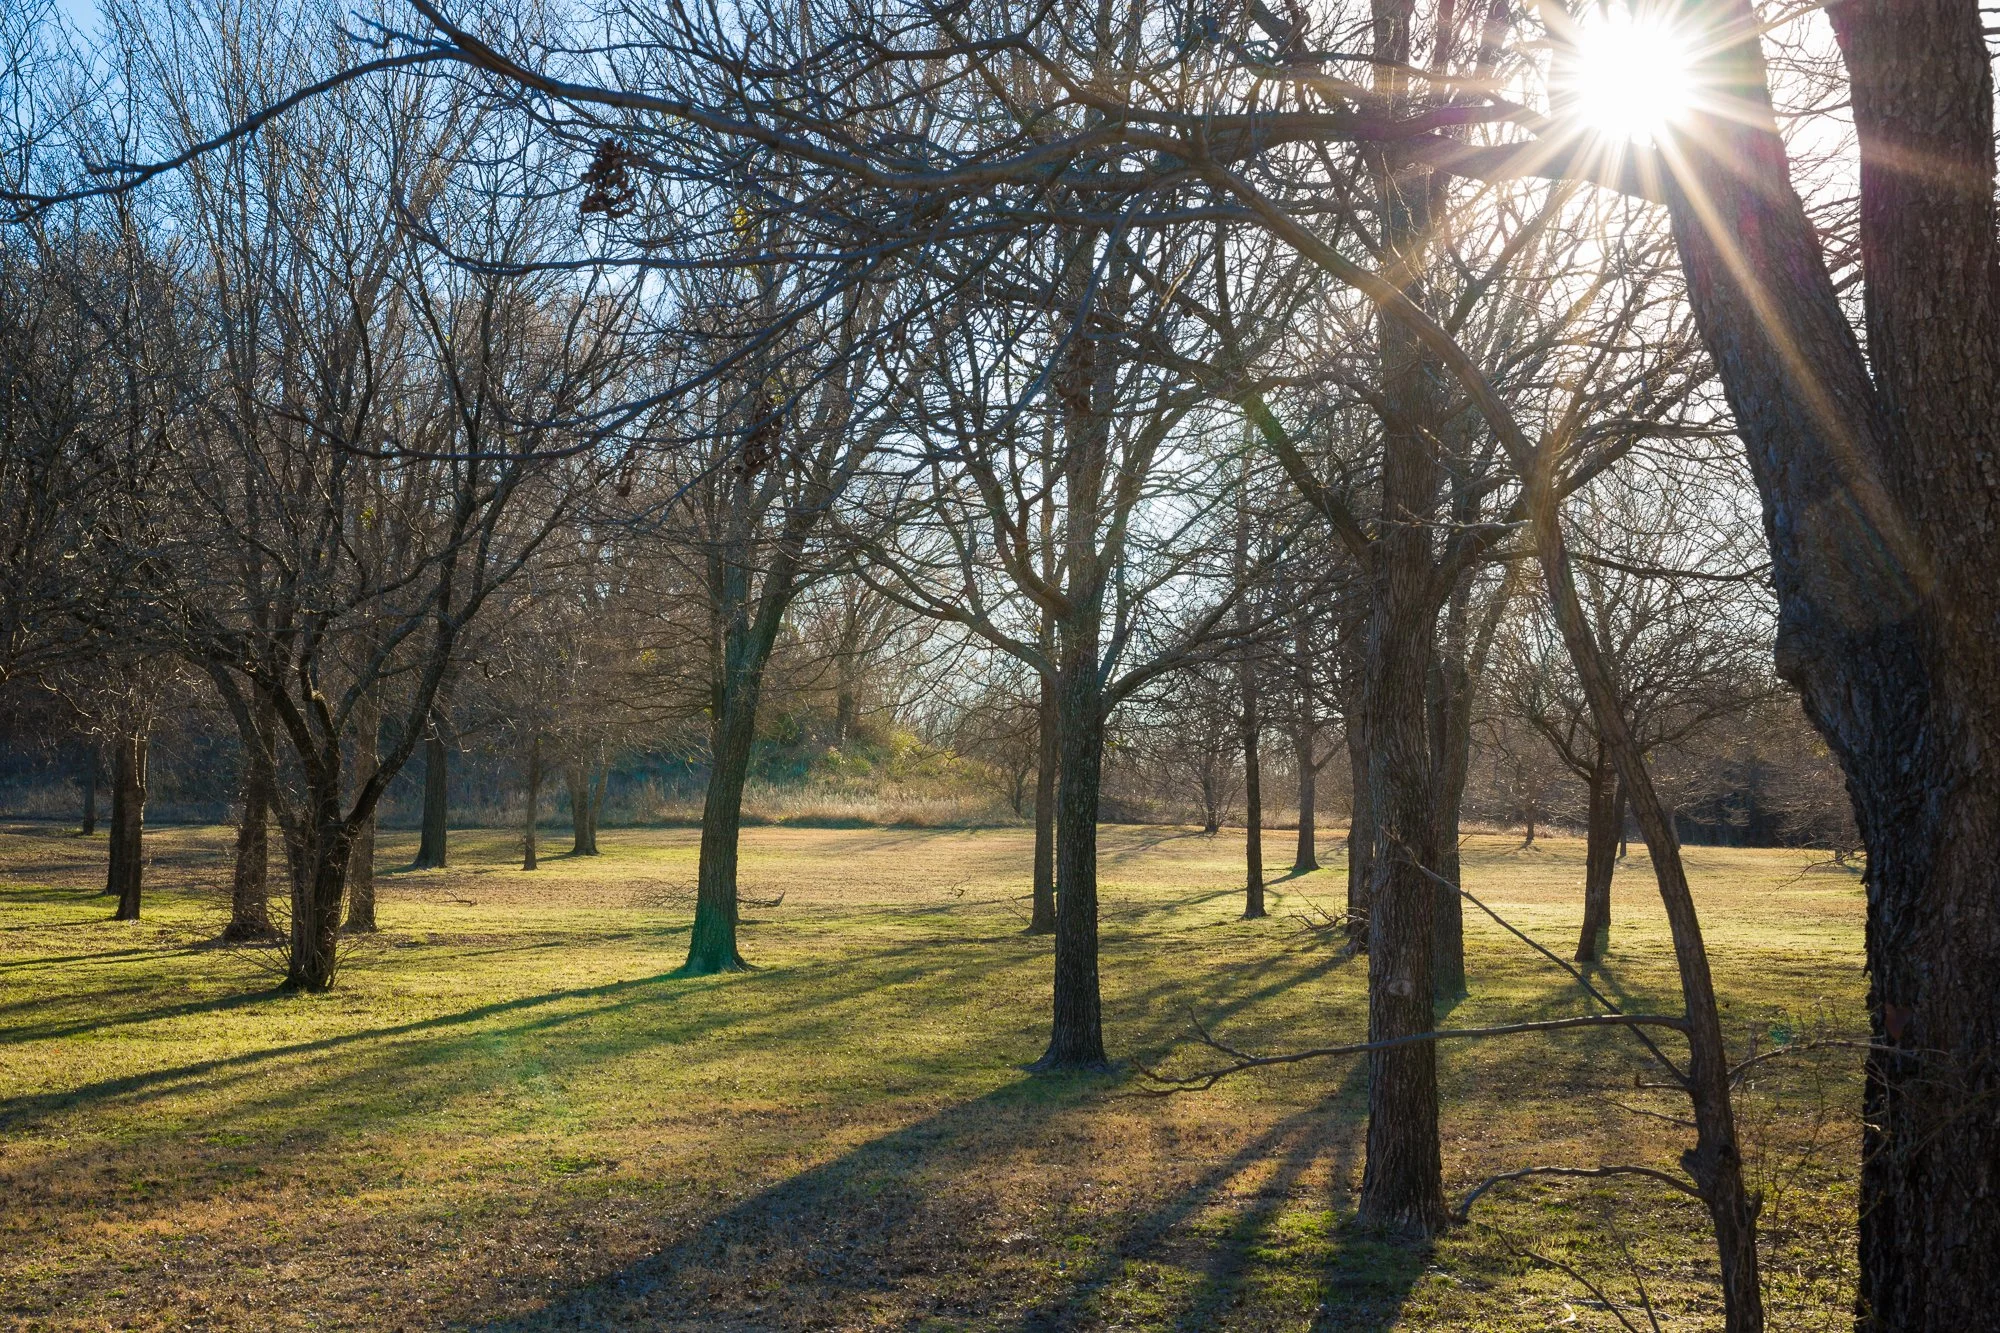
In this next image, I took a walk in the afternoon at the park near our home. It was really the first warm, sunny day we'd had and I was thrilled to see the grass turning green again. For this image, I set my f- stop at f/14, shutter at 1/60, and ISO at 320. I used the tree branches to 'pinch' the light and got the resulting image.
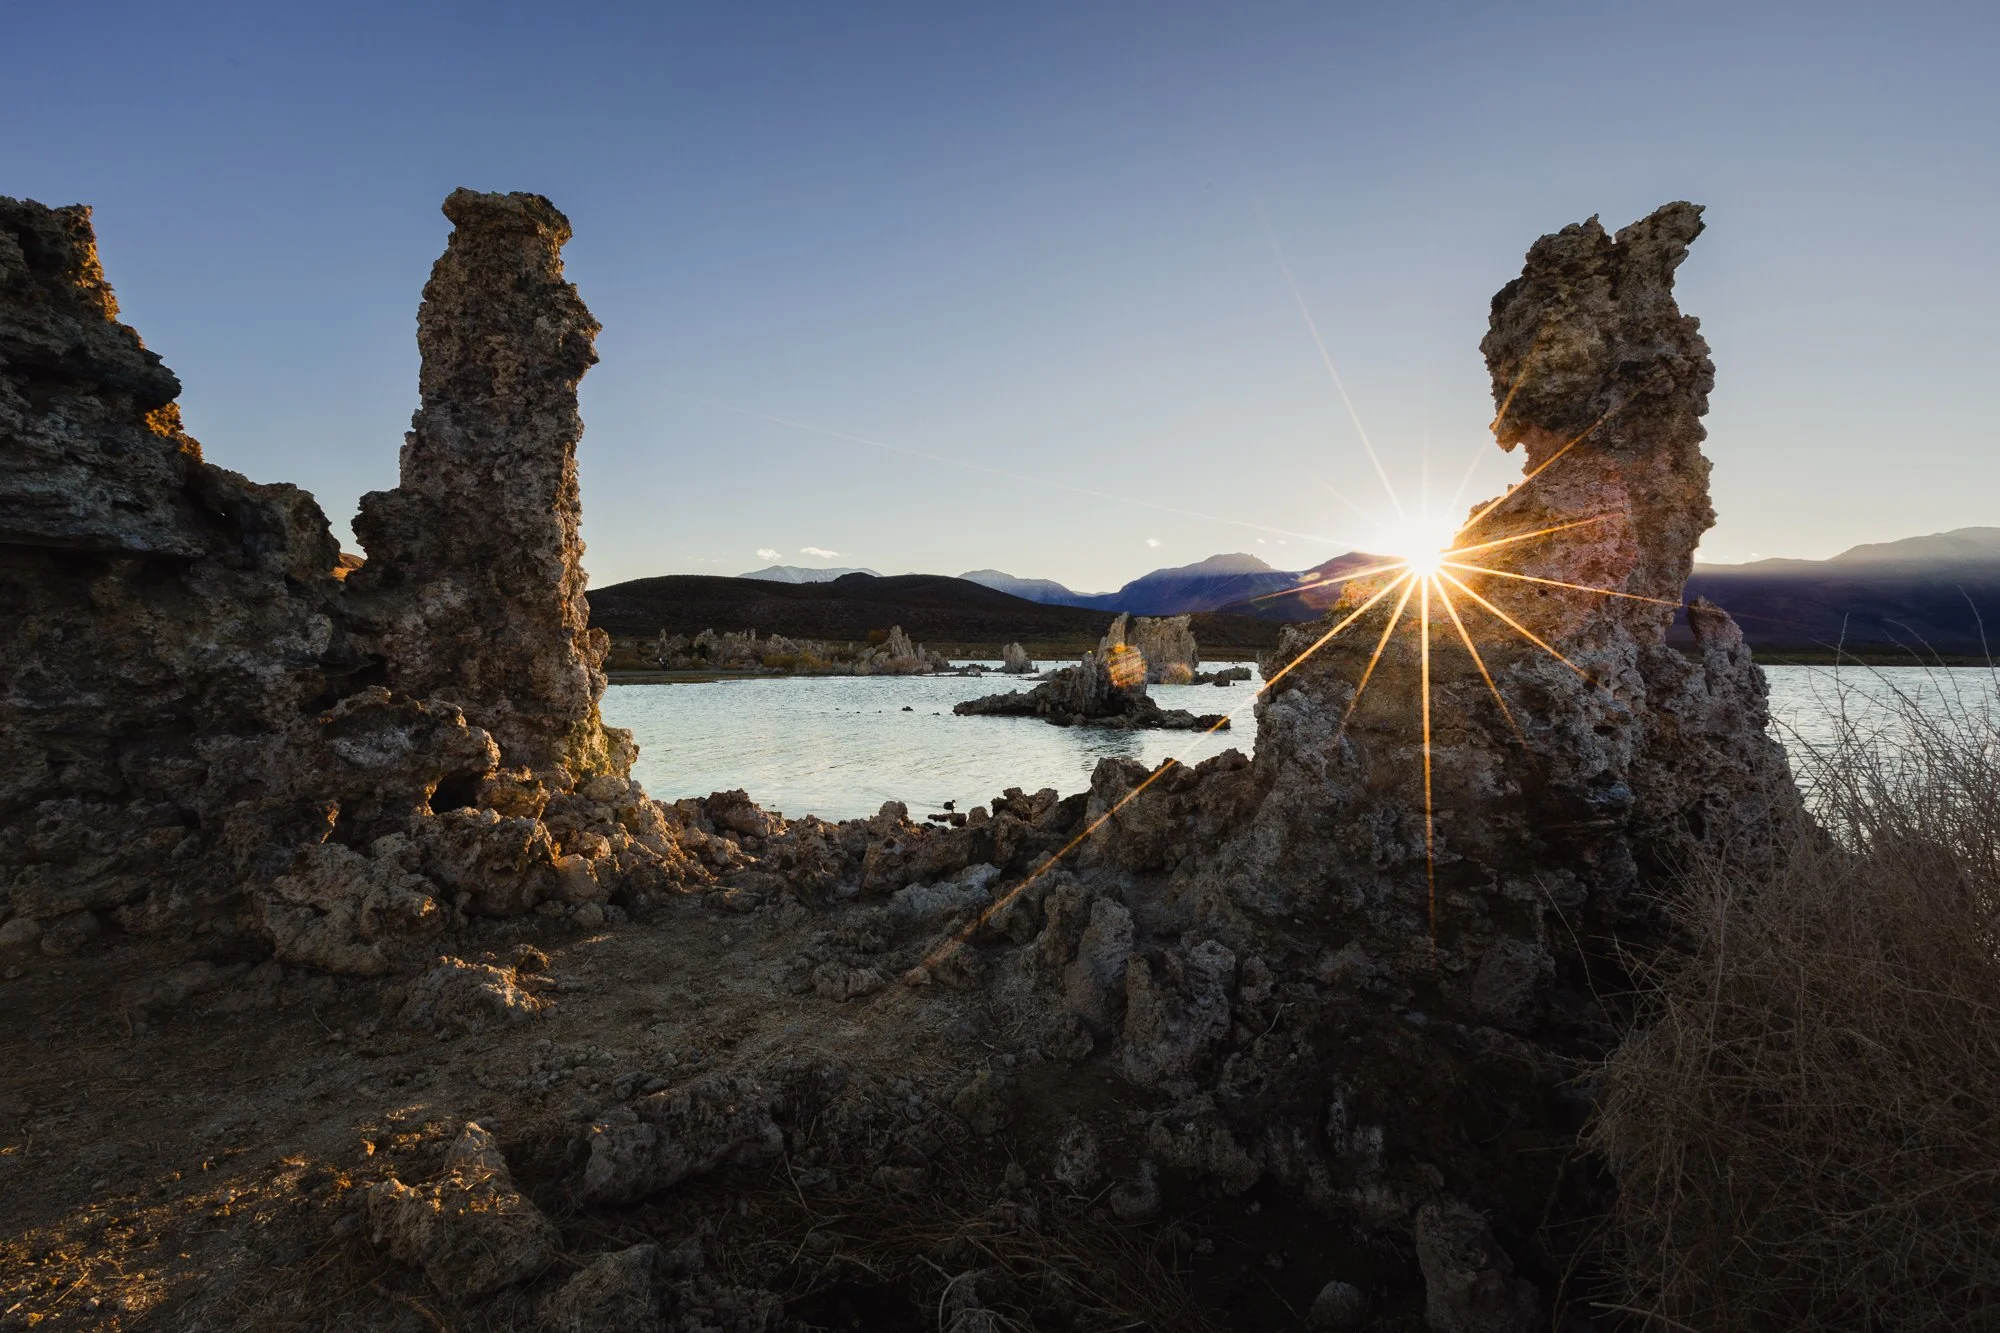
In this image from Mono Lake, the sun was setting and I was able to place the light behind one of the tufas (stacks). By keeping the sun completely behind the tufa, I set my focus and then moved slightly to the side until the sun peeked out from behind. My settings were f/20, shutter 1/13, ISO 100.
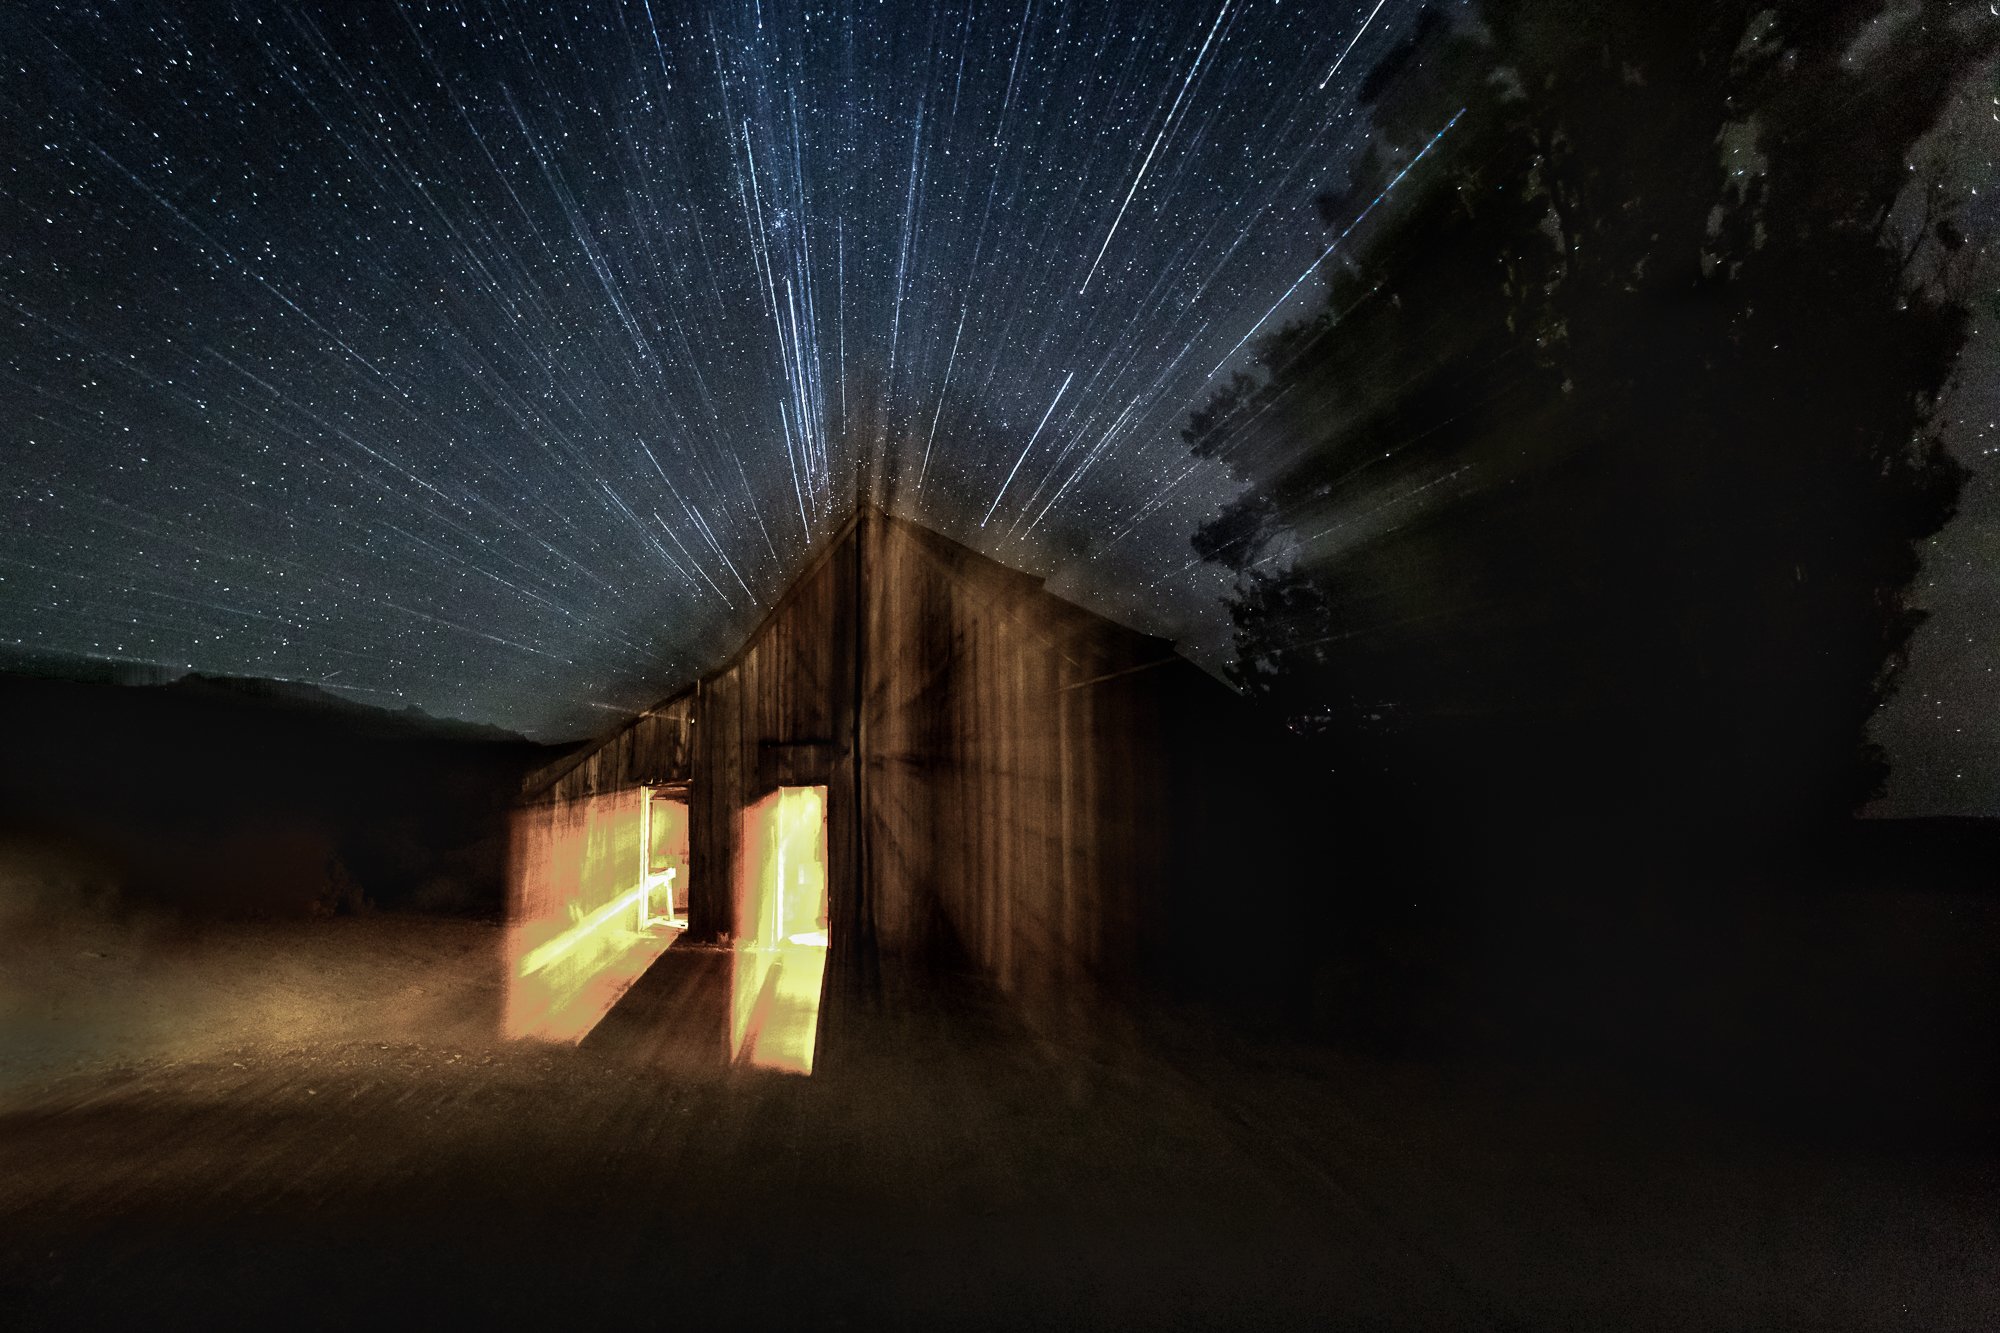
This next example is one I achieved while shooting light trails from cars. These can hardly be called sunbursts nor starbursts since the bursts are actually created from the streetlights. My nighttime settings were f16, shutter 62 seconds, and ISO 100 on a tripod.

My last example is a bit different. I used the same technique of hiding the sun behind the tree until I was ready to press the shutter, but I wanted an out of focus image that would enhance the bokeh in the background while still achieving the sunburst. This is an example of where the ‘pinch’ rather than the f-stop really helped to achieve the sunburst. The settings for this were f/8, 1/30 and ISO 1250.

As you can see from these examples, there are different ways to achieve a sunburst and different equipment will allow for different results. Get out there, experiment a little, play, and see what you can achieve! Nature is amazing!
A word of caution: DO NOT LOOK DIRECTLY AT THE SUN through your camera lens.
Get all your settings set, focus on an area in your viewfinder away from the sun, then adjust your aim and take the shot. I often use focus – recompose to avoid looking at the sun. However, sometimes I will shield the portion of the lens (with my hand or hat) where the sun is hitting directly, focus, and then remove it to take the shot. I hope this was helpful and I encourage you all to give it a try!
Can’t find what you’re looking for? Use the Search option below.


* * * * * * *
As a published, featured northern California fine art photographer living in the greater Sacramento area, I specialize in fine art landscape, nature, and still life photography. My style is authentic, fresh and personality-driven. I offer several educational opportunities including workshops and photography mentoring. You can learn about them by going to SERVICES and WORKSHOPS. While currently living in rural northern California with my husband and a couple thousand walnut trees, I post regularly to Instagram.
Please CONTACT ME with any questions or to schedule your learning session.
Serving Yuba City/Marysville, East Nicolaus, Wheatland, Lincoln, Woodland, Davis, Roseville, Rocklin, and the greater Sacramento area.
(530) 633-7575


Join other advanced photographers who are recognized for their technical and creative work. Learn more HERE.
When I first started learning photography, in addition to photographing ALL THE THINGS, I was incredibly interested in macro photography. It intrigued me. The details and the blurry backgrounds seemed beyond reach. Because of this allure, a macro lens was the first lens I purchased (after the kit lens).