
Applying Textures in Photography | northern California photographer
Textures
Have you ever wanted to apply a texture to an image, but just weren't sure how to go about it? I'll give you some simple steps in this tutorial to add that little bit of something extra. I am working on a Mac using Adobe Photoshop. You will need to have Photoshop; and you will need to download some textures. There are so many out there! If you are unsure whether or not textures are for you, you can try out some free ones. I started by using Amanda Padgette's free textures on her website, but a quick Google search will give you some options.
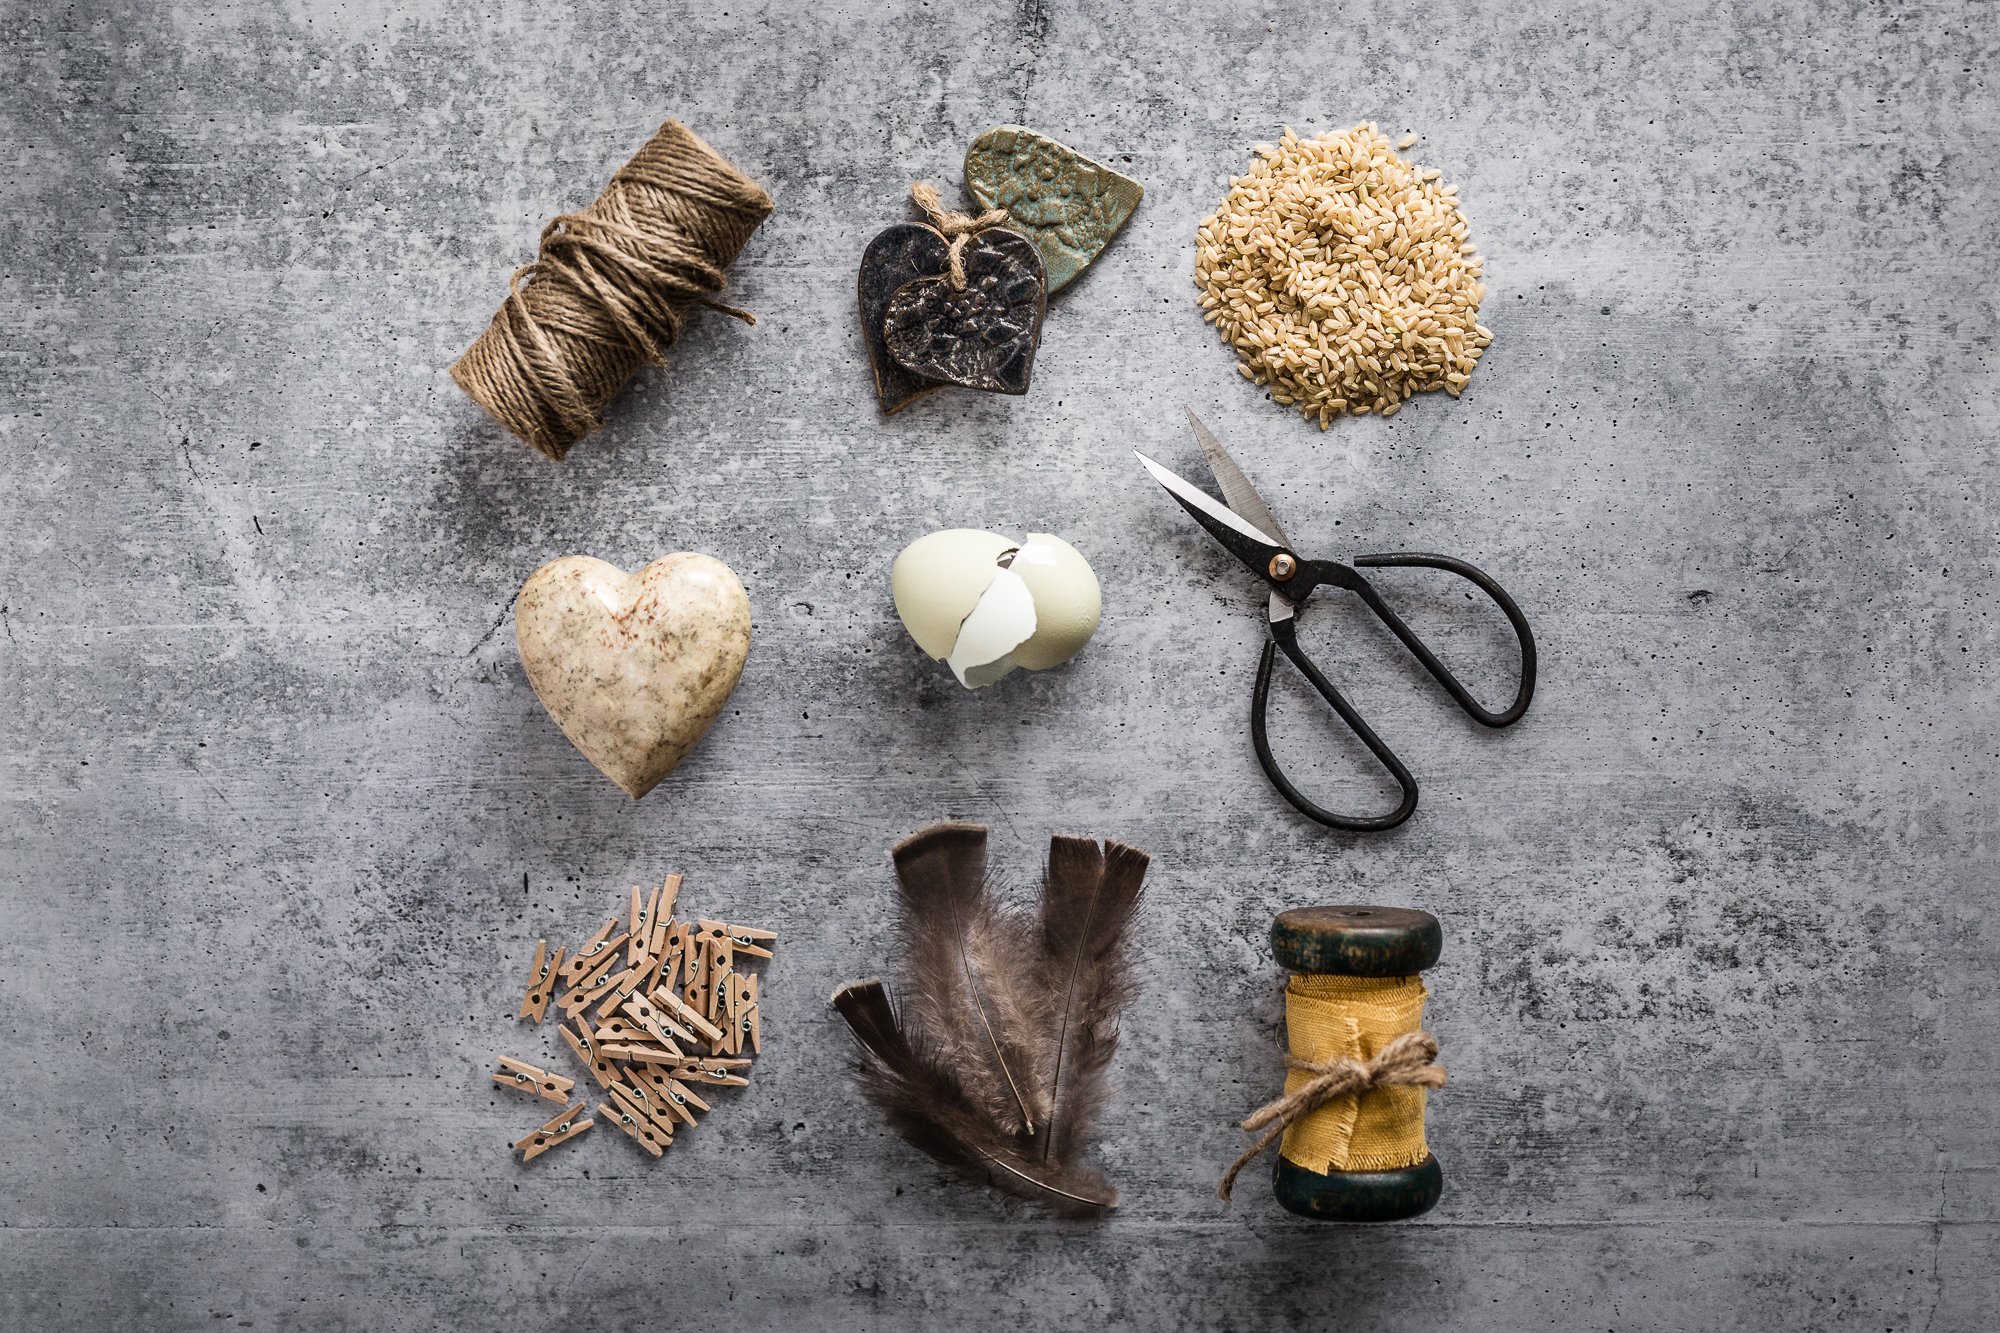
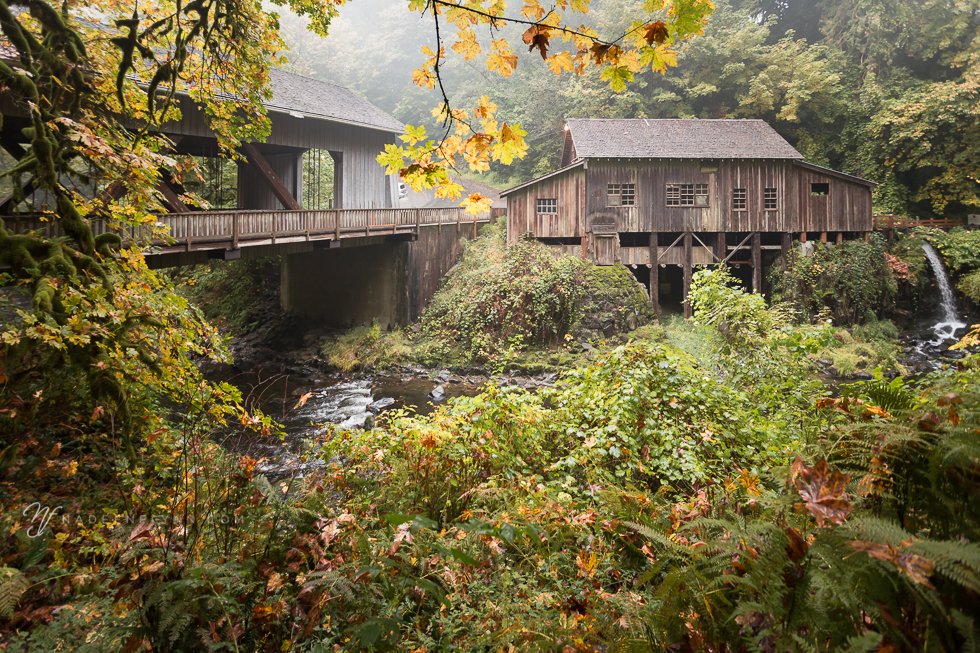
The very first thing is to select an image that might be enhanced by a texture. I tend to like them best on florals and landscapes, but you can certainly use them with other genres. I also like them on an image that is not too busy. You want to make sure that you have completely edited the image first, as applying a texture is the very last step.
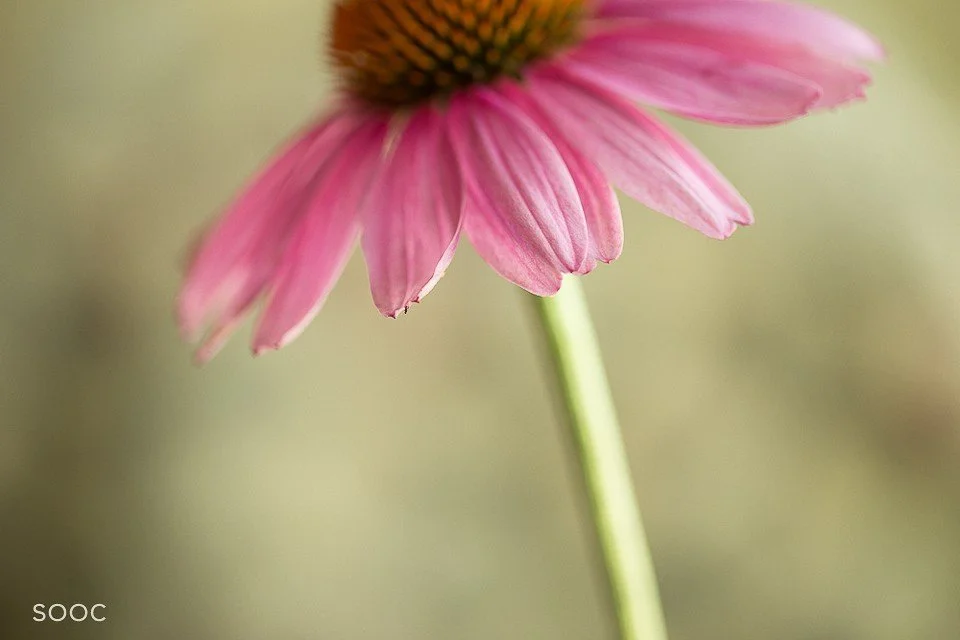
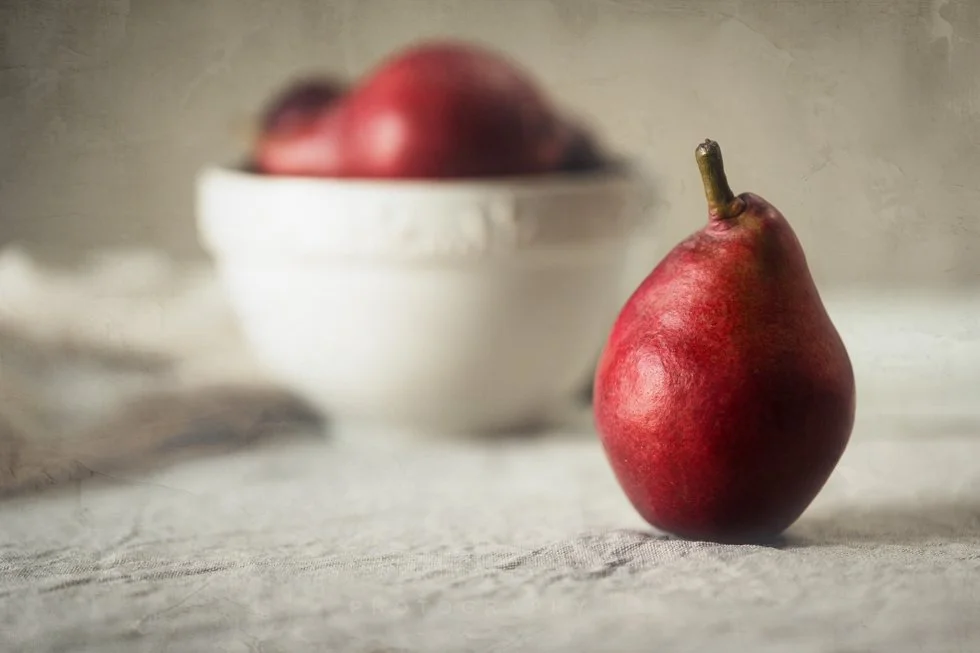
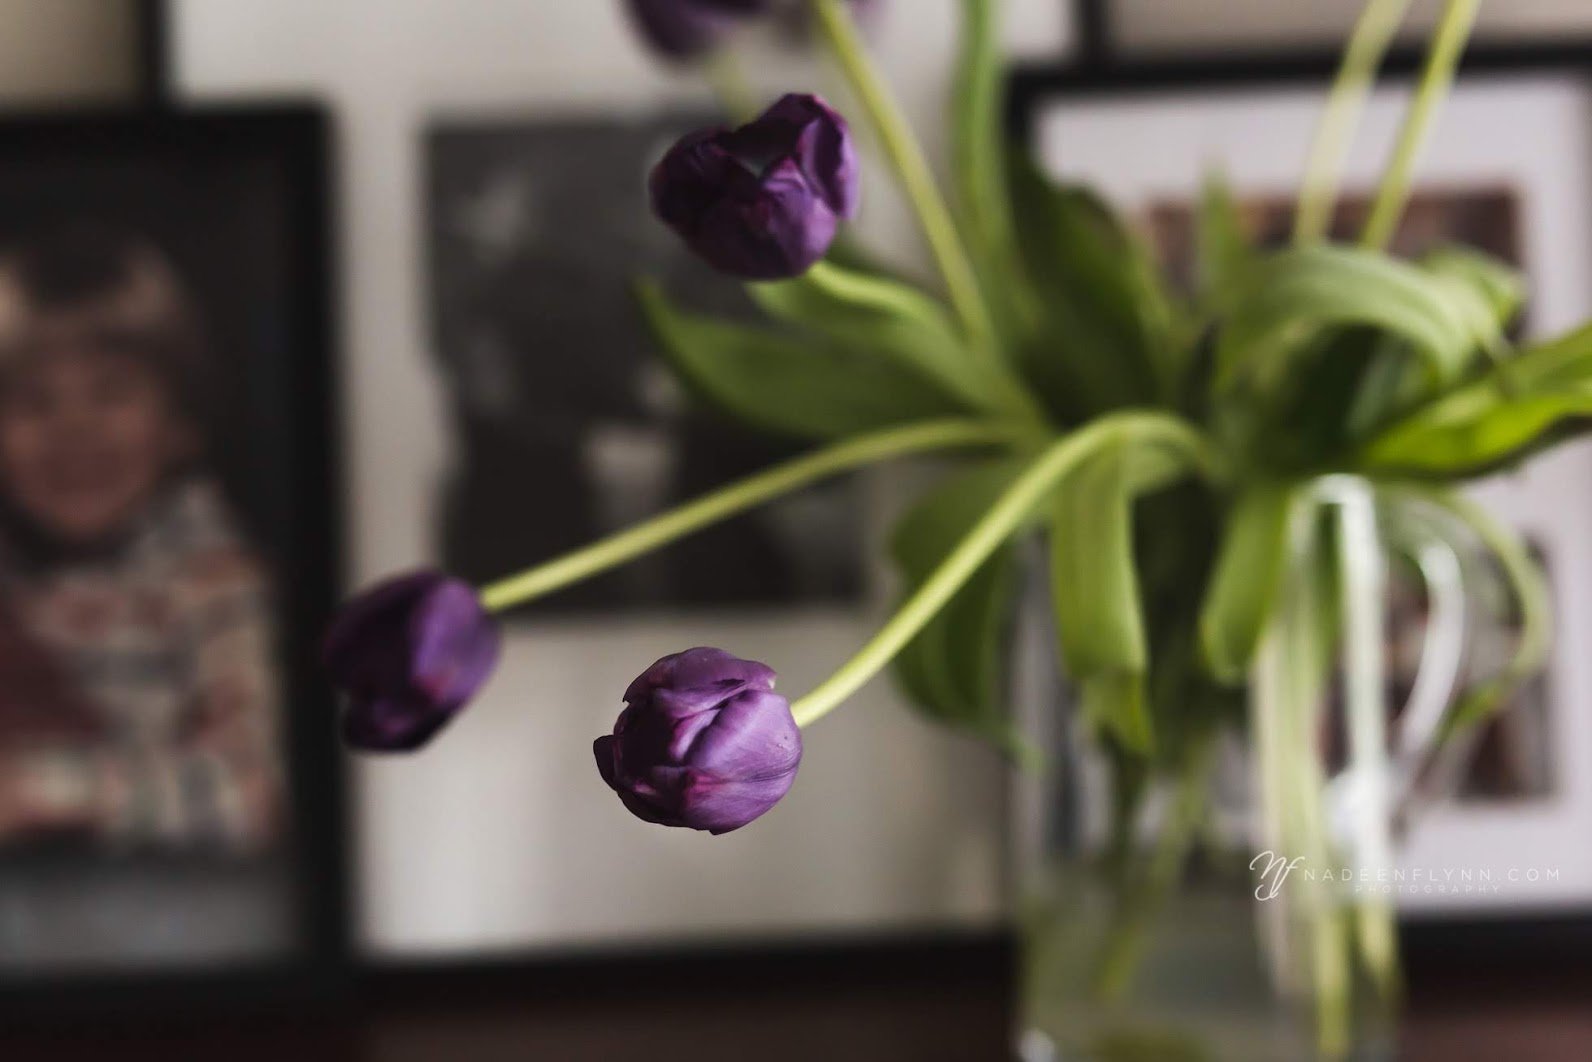
Here is an image I think might look nice with a texture. This is the SOOC.
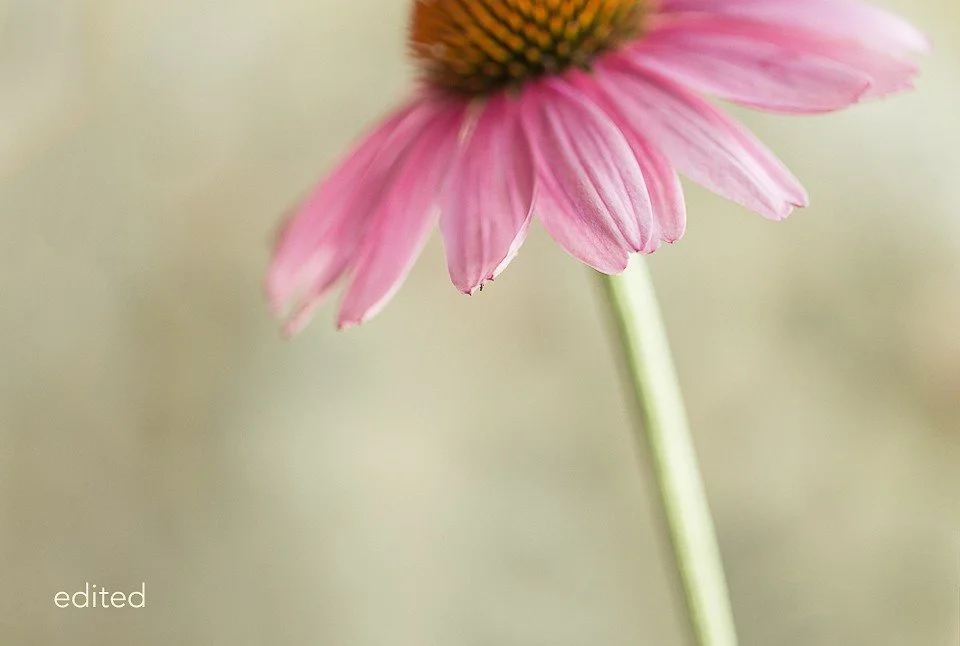
And here it is after editing.
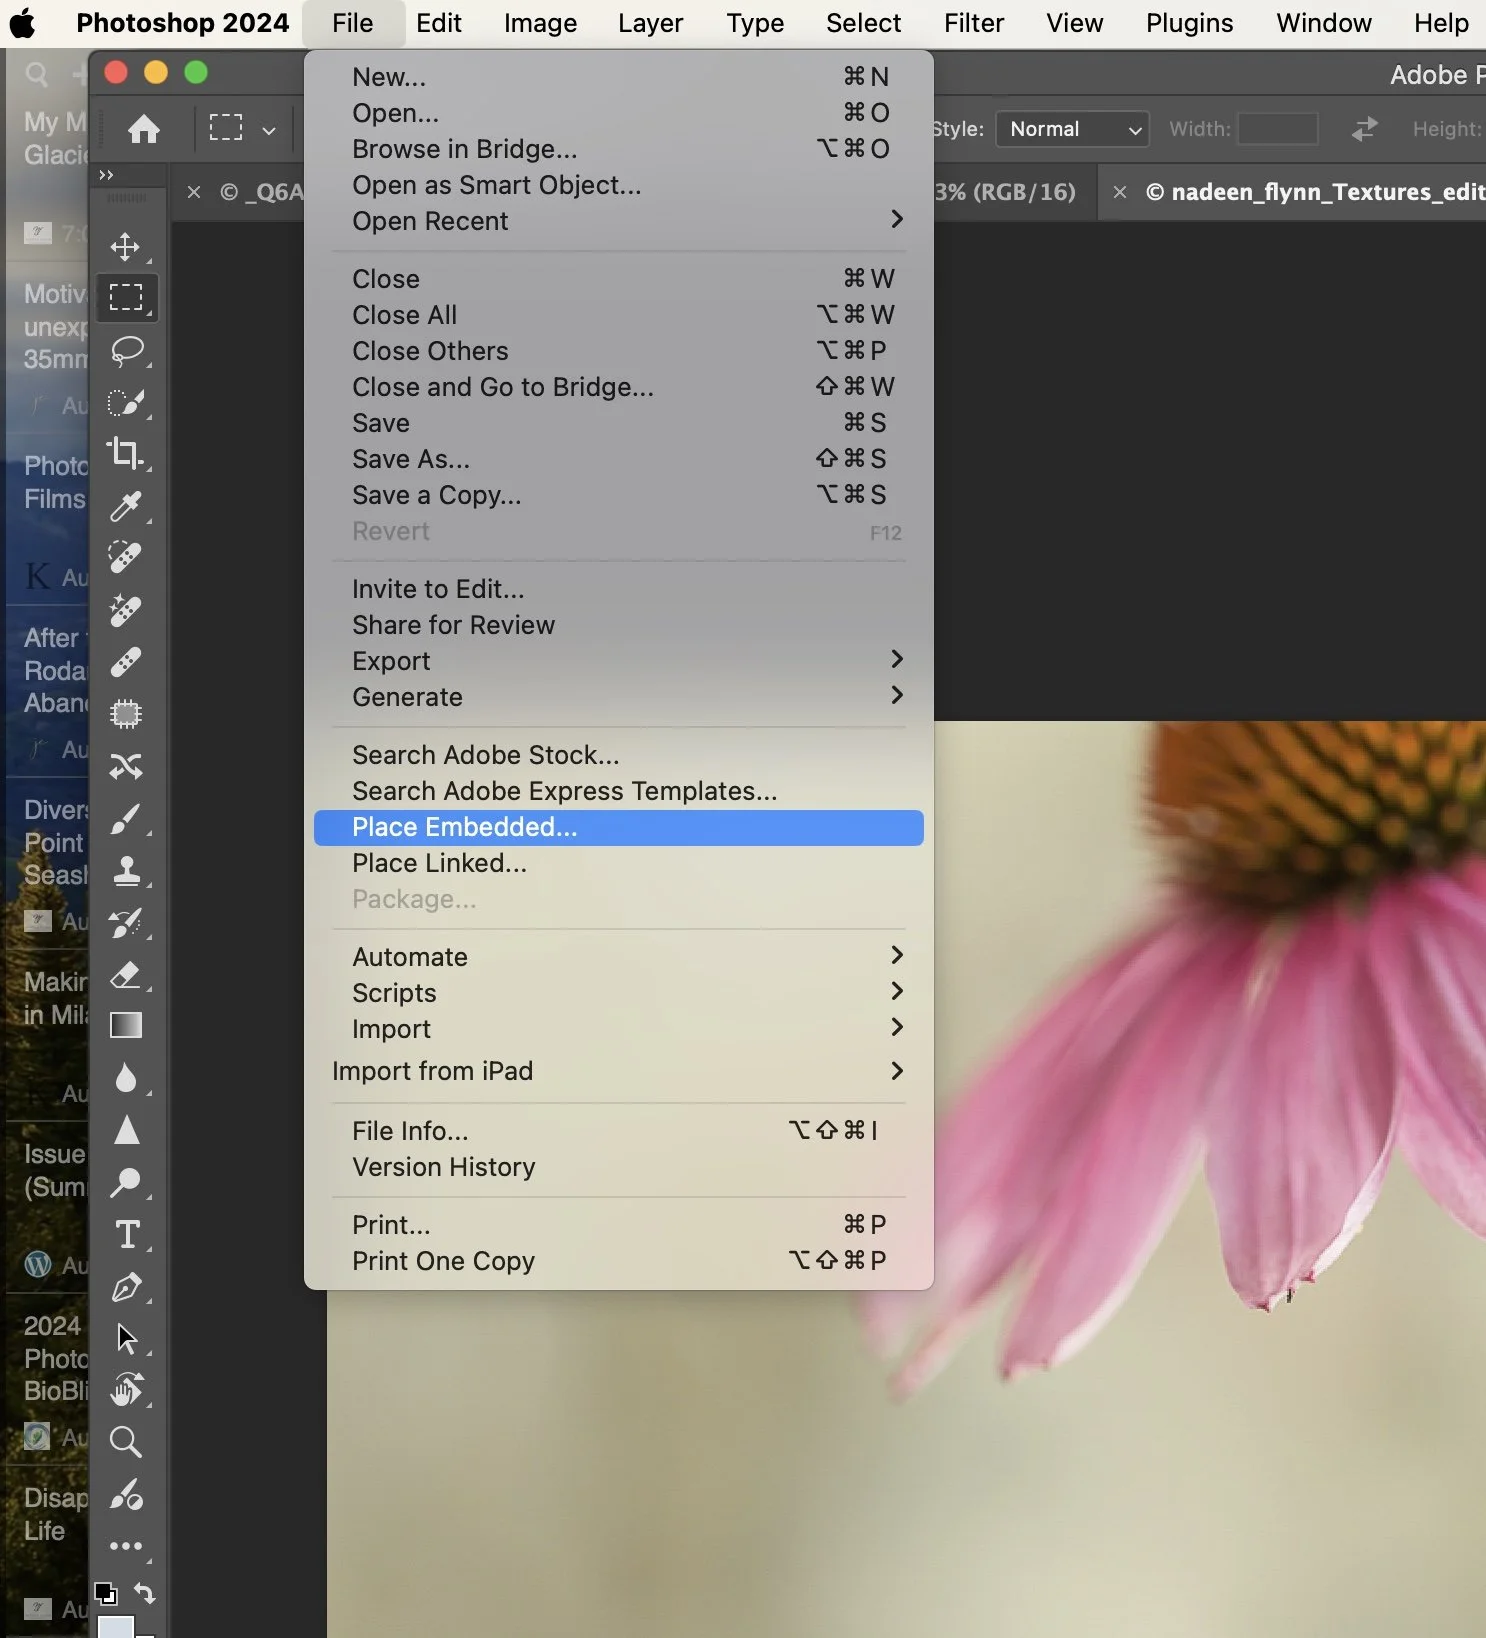
The image was edited in LR, but to apply the texture, I need to work in Photoshop in order to utilize layers. From LR, go to the menu across the top and click on Photo > Edit in > Adobe Photoshop. The image then appears in Photoshop. There are a couple of ways to apply the texture, but my favorite is to use the Place function. From the File menu (across the top) of PS, click on Place Embedded. When the Finder menu appears, go to the section where all your Textures are stored. Select the texture you want to use, then click Place, and it will open in PS.
In this case, I chose Cancun from a free set. Click OK and the texture then appears as a separate layer in the PS menu panel, as well as on top of the image.
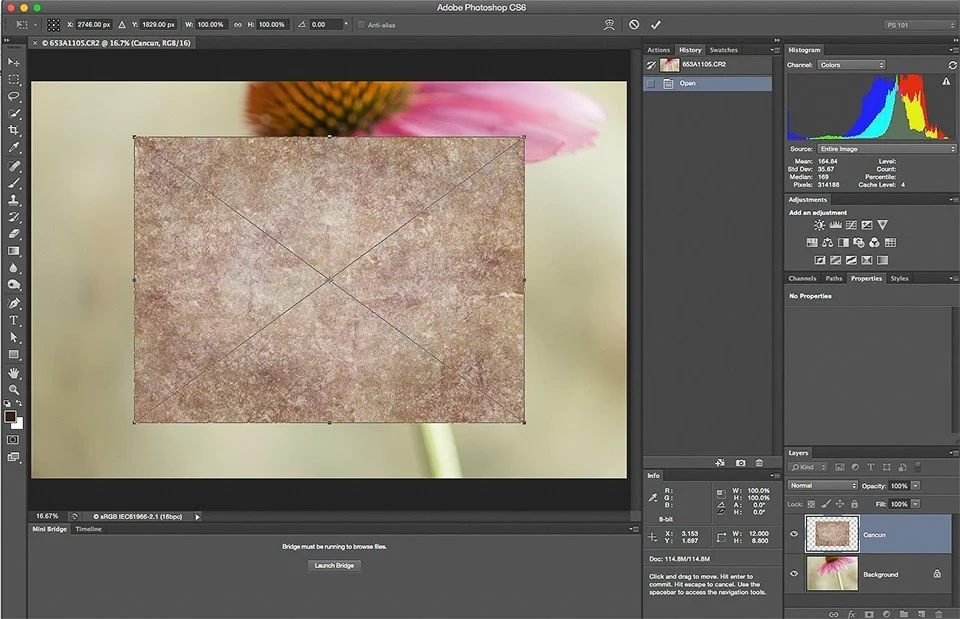
In order for the texture to fit, stretch it across the image by clicking on the corners and dragging them to the edge (or beyond depending on how you want the texture applied). Once the texture is placed, hit the return key and the texture is then in place right on top of the image. In fact, the image itself cannot be seen through the texture. Time to play with the blending modes and opacity.
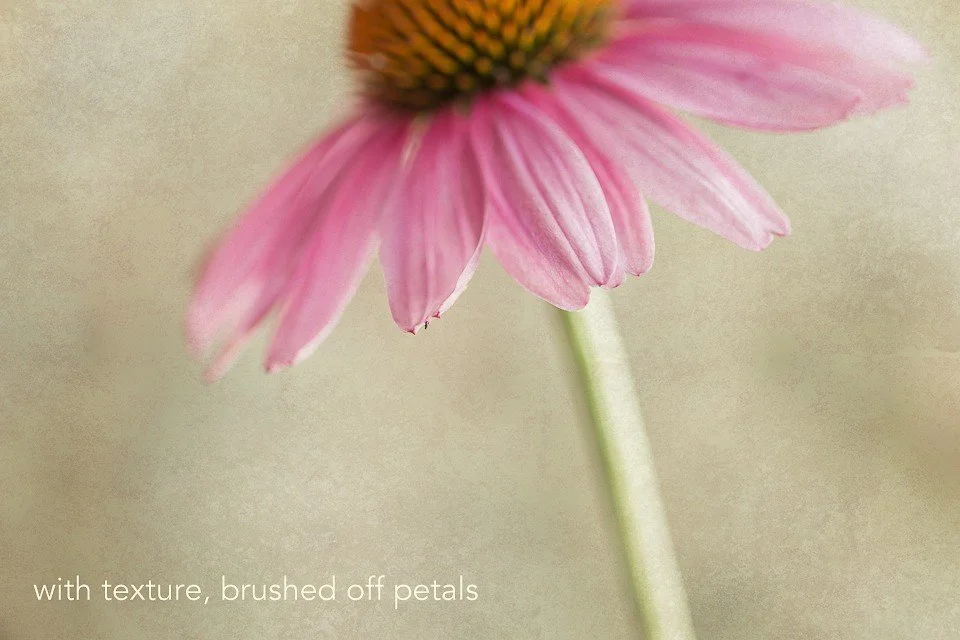
Next, pull the opacity down to 30% or so, so that you can see how the image is changing with the different modes. Try different blending modes at different opacities until you find the combination that supports the vision you have for the image. You can go very bold, or very subtle. In this case I settled on Darken @ 20%. It gives the background an almost marble look which is what I had envisioned. However, I really didn't want it to be so prominent on the petals of the flower so I added a mask and brushed it off the flower petals at about 25%. I always like to leave some of the texture on the subject of the image so that it blends and doesn't look like it was just plopped on top.
Brush the texture off the petals.
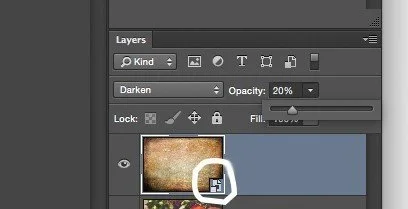
Typically, I would have stopped right there, but just for fun, let's keep going and add another texture layer. This one has a vignette which I like, but very strong color, too strong for my liking for this image. In order to remove the color, but retain the texture, I'm going to desaturate it. While that particular texture layer is highlighted, I go to Image > Adjustments > Desaturate and the texture then is completely desaturated of color but has retained the texture detail. (If you have the little Smart Object icon on the corner of the thumbnail, you must rasterize it first. Go to Layer > Rasterize > Smart Object. Then you can continue to the desaturate step.) Here is what the image looked like before the texture was desaturated, and after.
Before

After
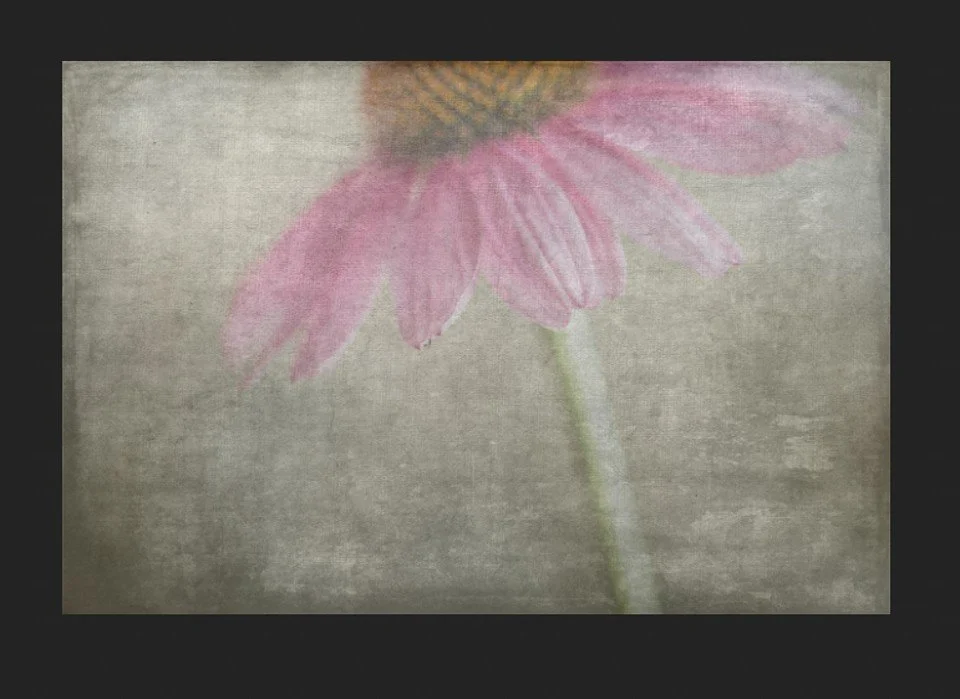
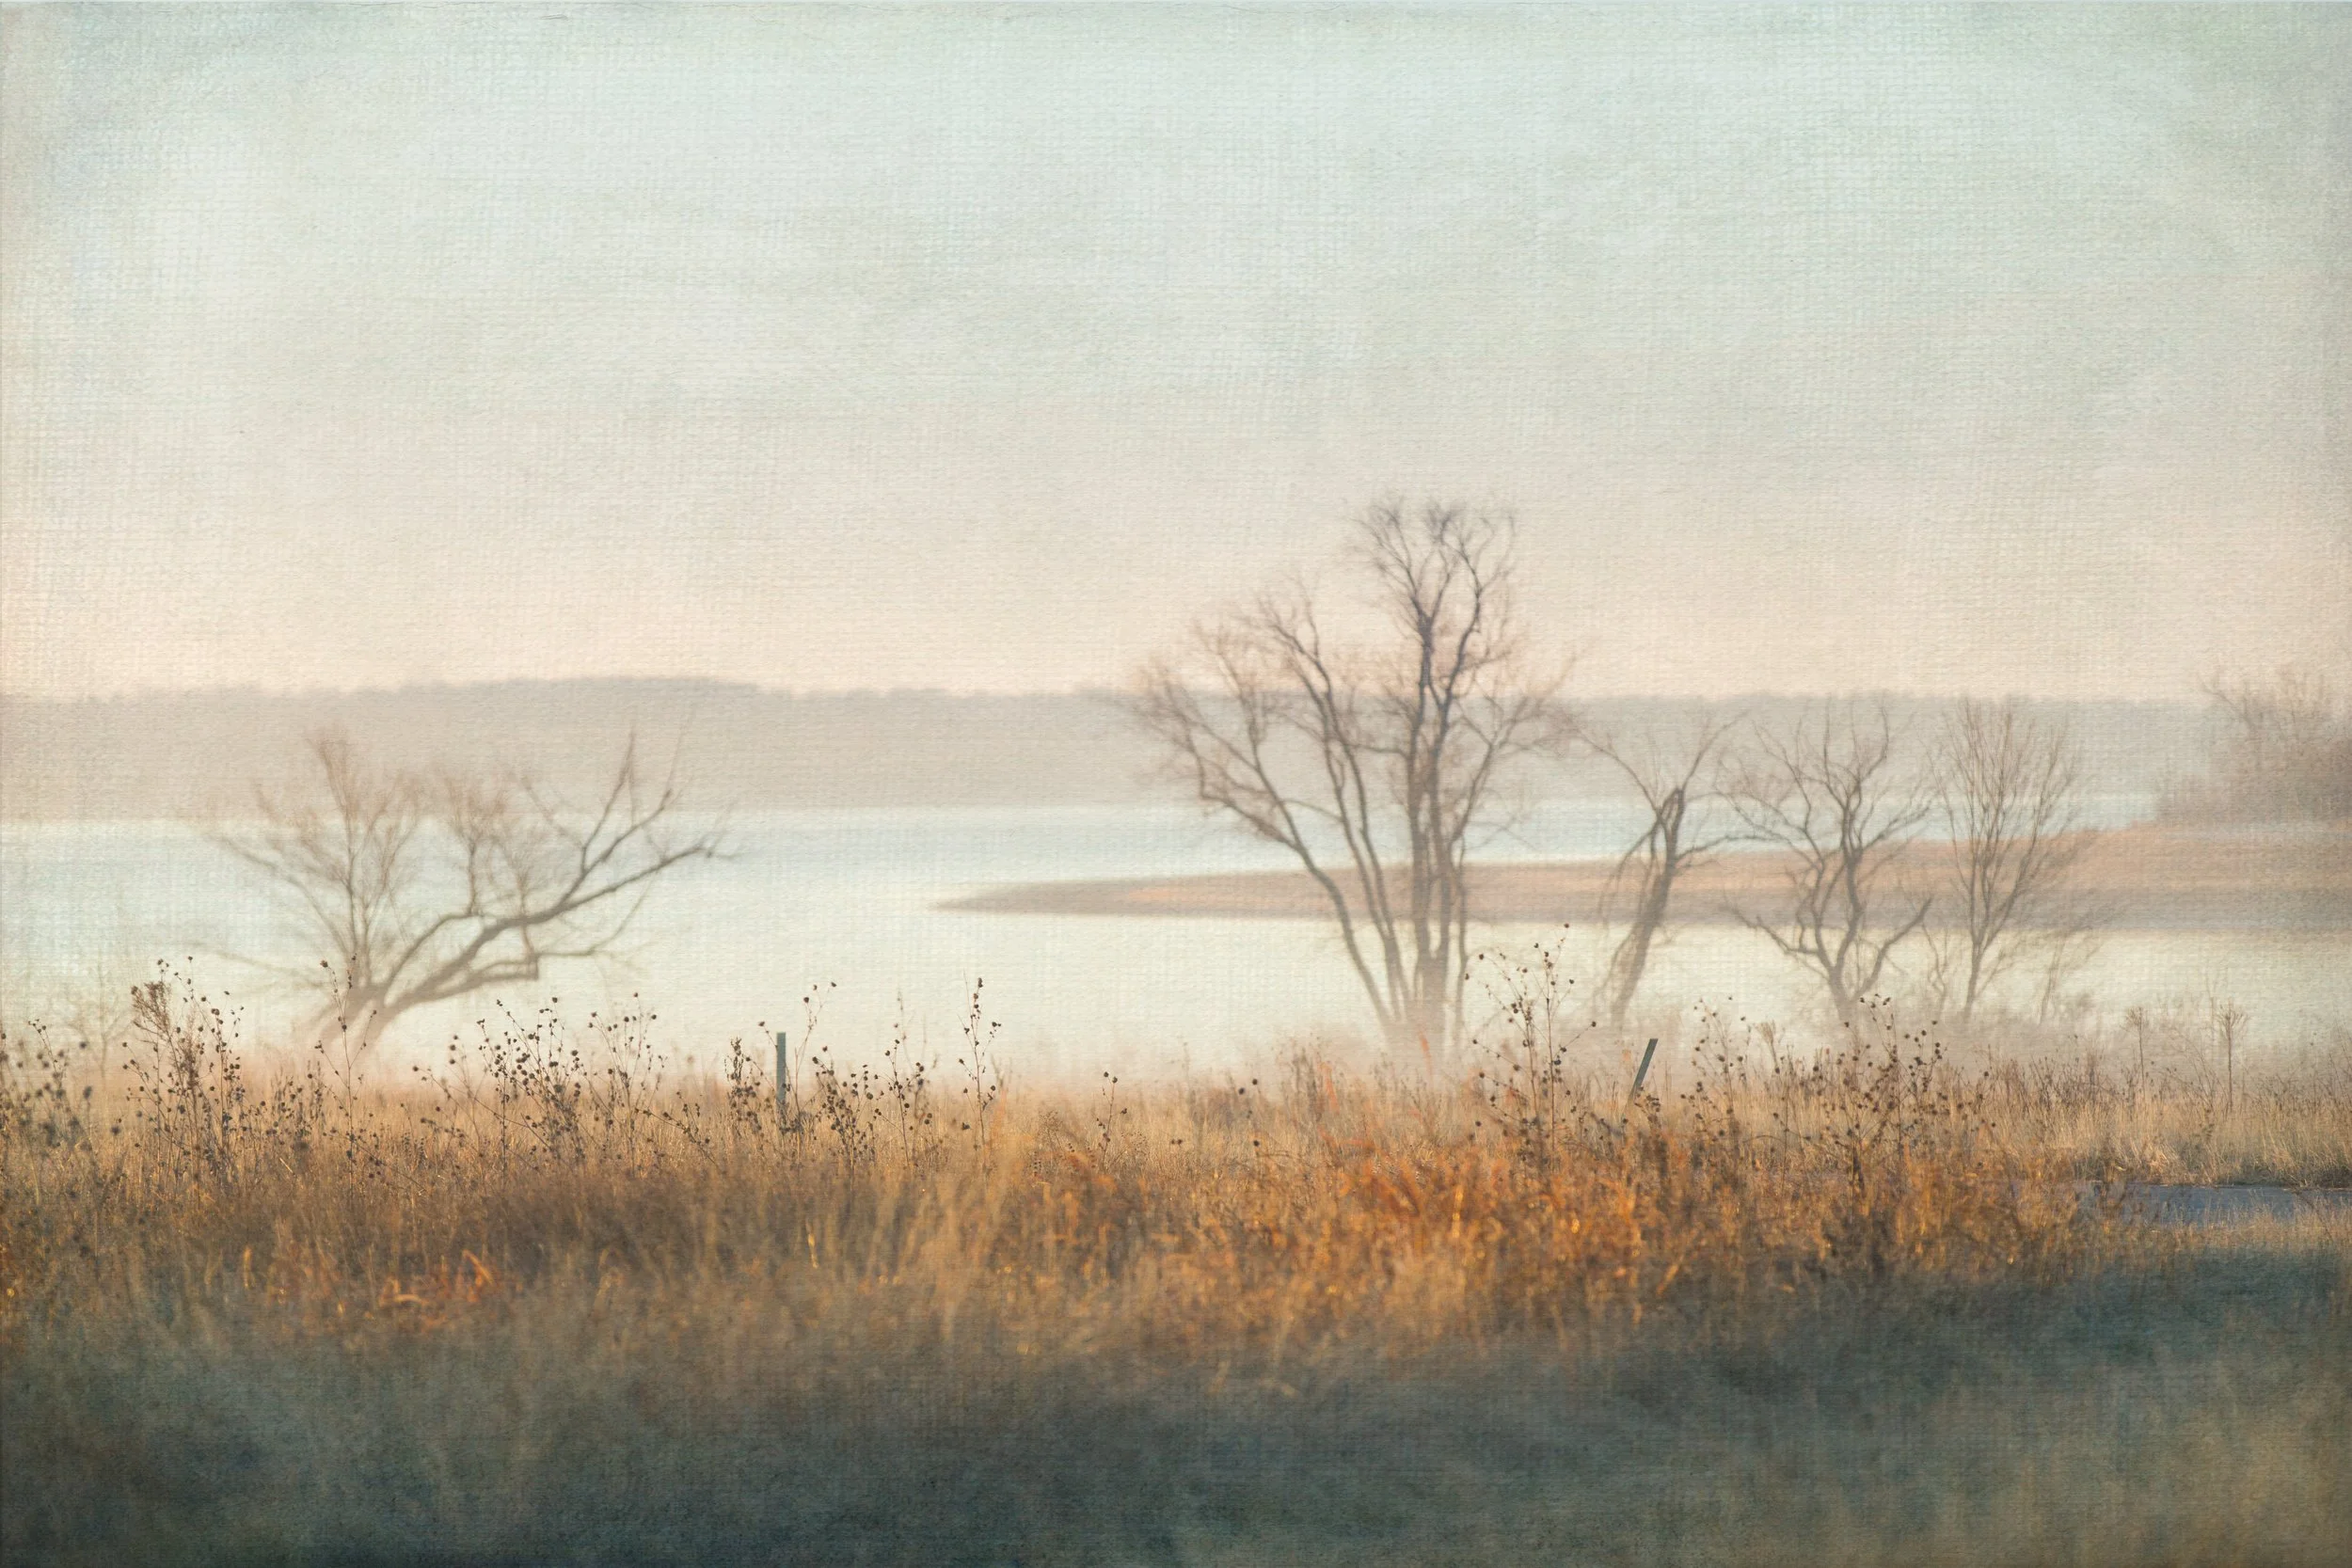
Final
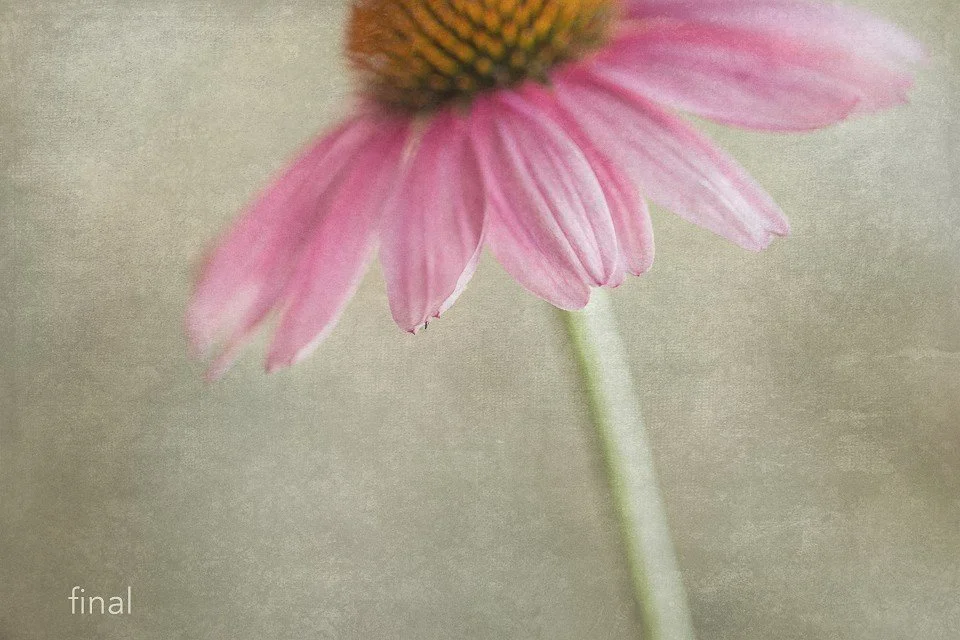
And, here is the final result using blending mode Multiply @ 15%.
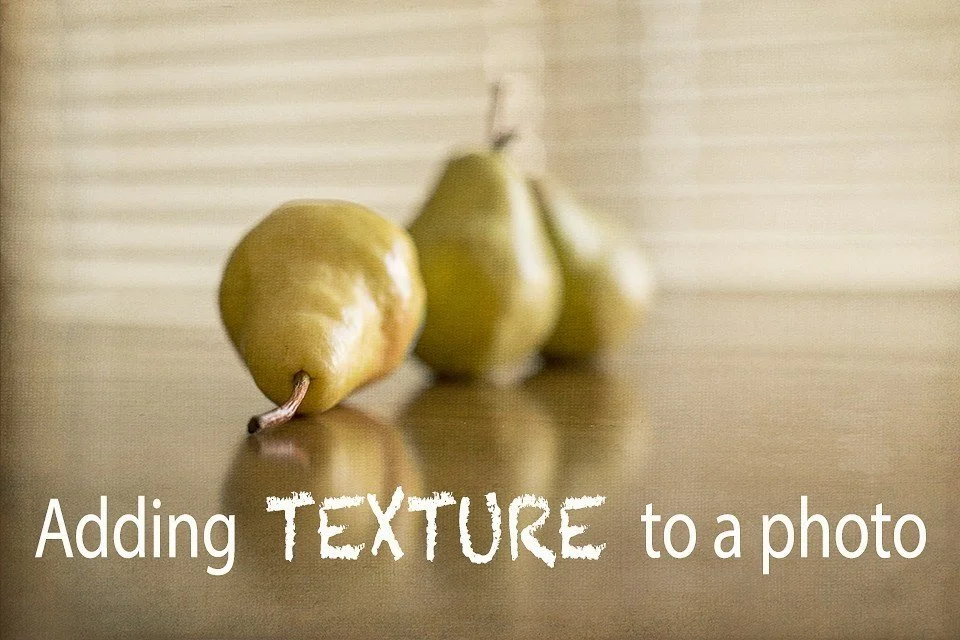
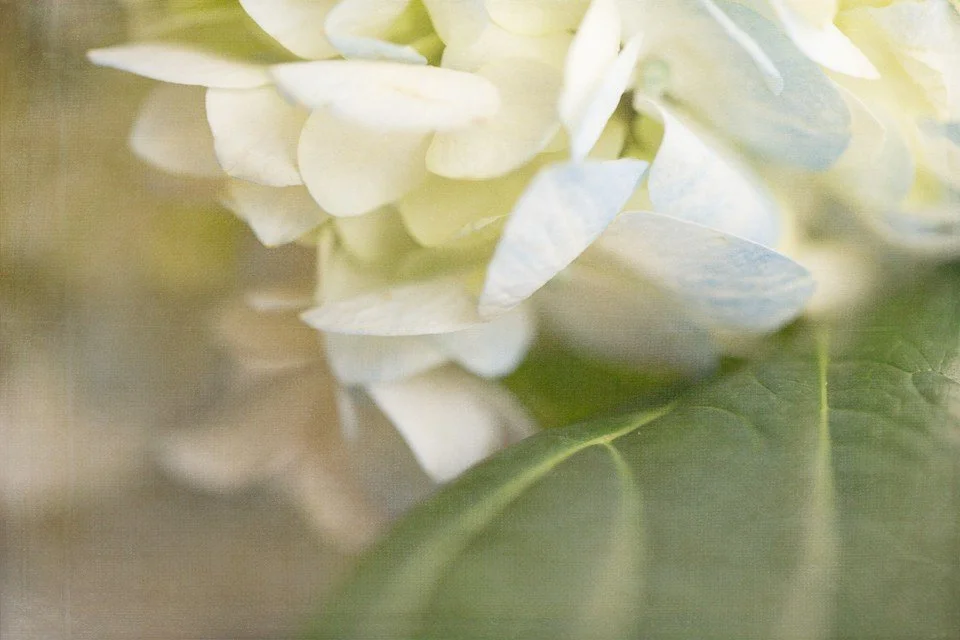
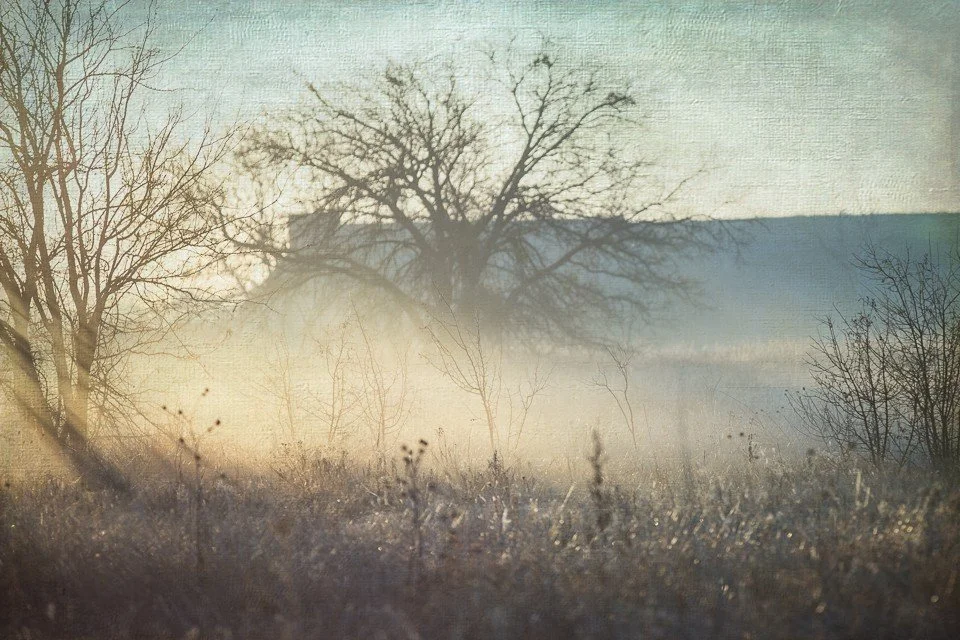
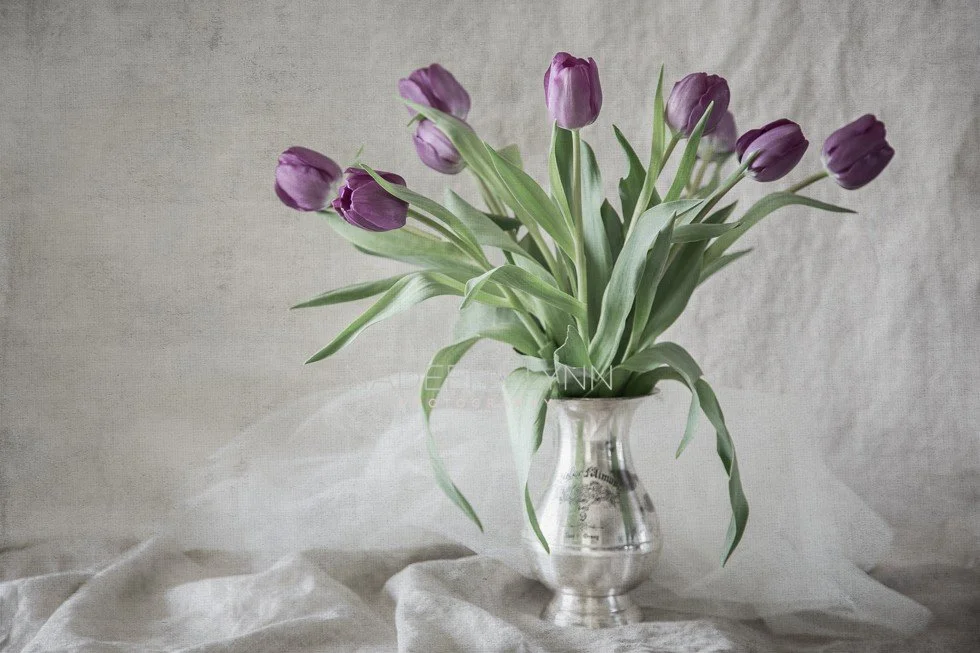
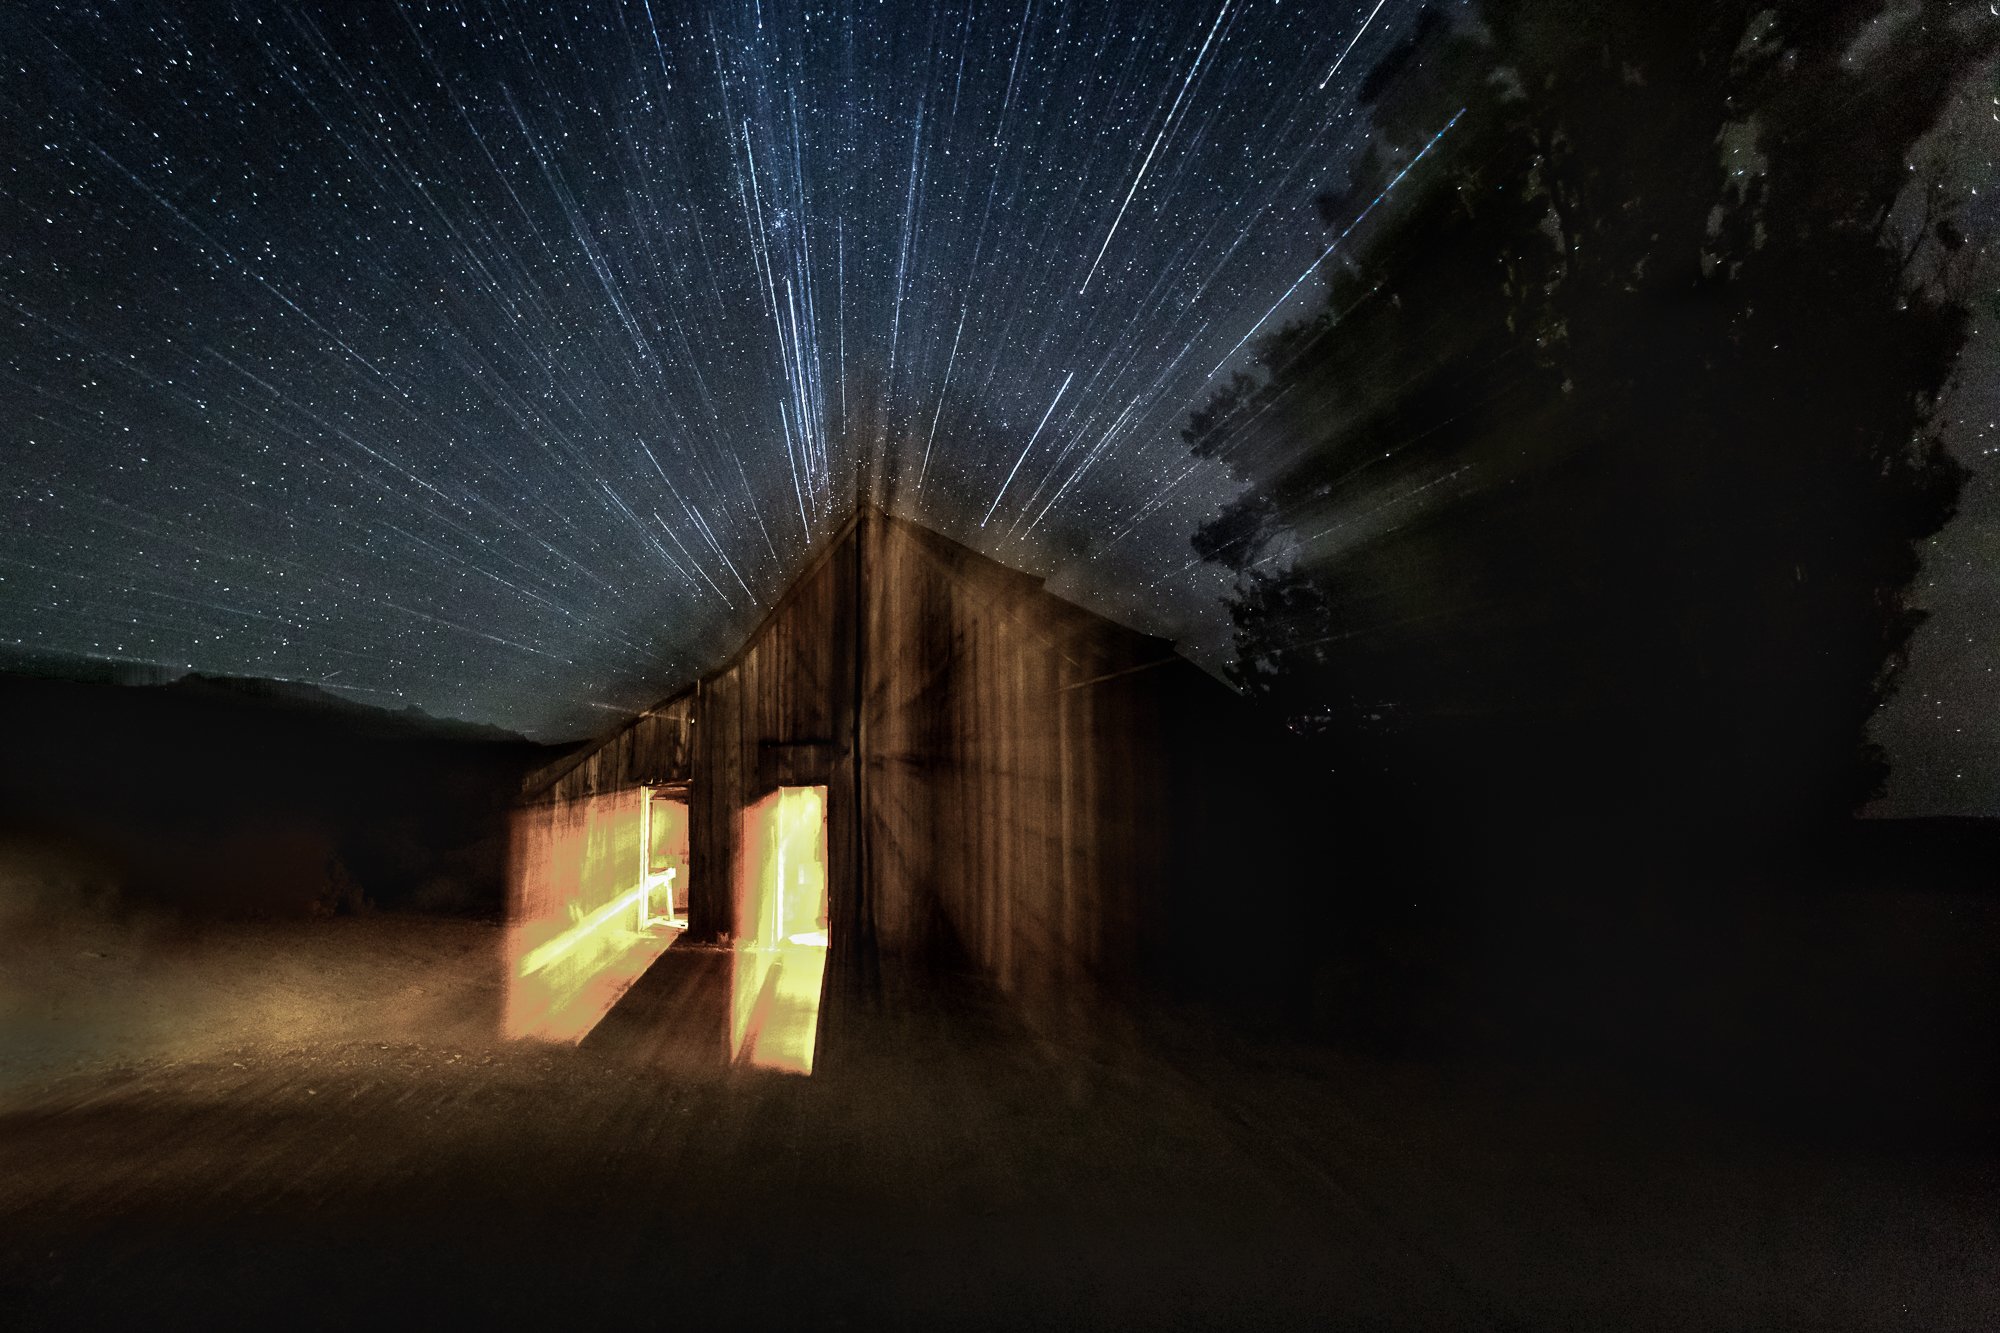
Here are a few more images to which I've applied textures.
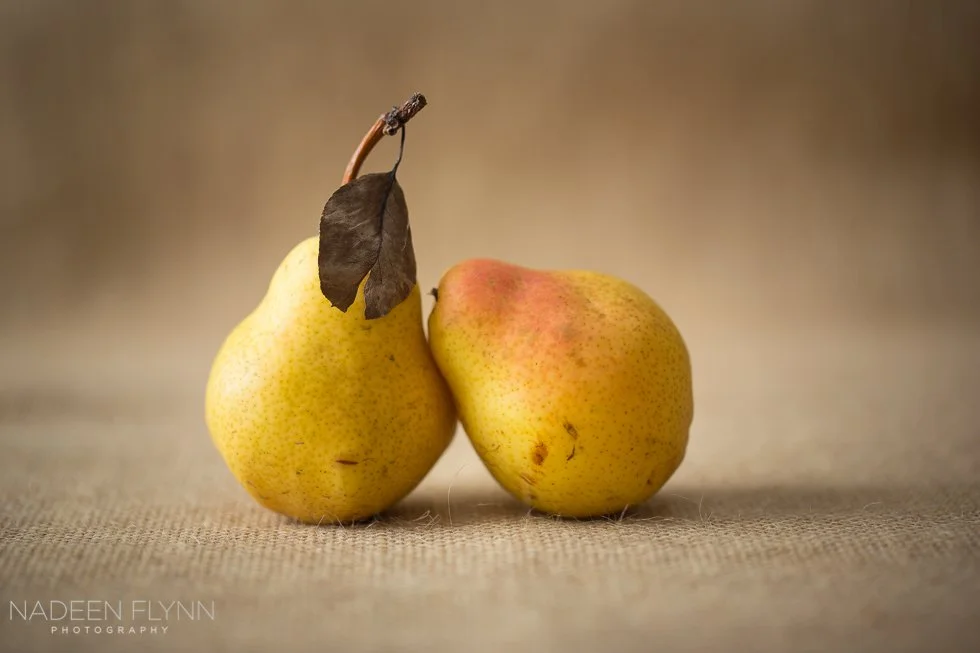

These two yellow pears show the same image after editing but before a texture was applied. And, second, with the texture.
I hope you'll give textures a try and play with them a bit. Bold or subtle, they can really change the feel of an image.
(If you took my Still Life Class online, you have a video tutorial for applying textures in Week 4.)


*****
All images are available for purchase.
Please CONTACT ME at nadeen@nadeenflynn.com to purchase prints or schedule your portrait session.
Nadeen Flynn is an award winning northern California portrait and fine art photographer. Living in the greater Sacramento area, she specializes in mentoring as well as fine art landscape and still life photography. Nadeen’s style is authentic, fresh and personality-driven. This retains the timeless features of photography that create family heirlooms. She offers in-person workshops and mentoring. While currently living in rural northern California with her husband and a couple thousand walnut trees, she posts regularly to Instagram.
Currently booking workshop and mentoring sessions. Locations include Yuba City/Marysville, East Nicolaus, Wheatland, Lincoln, Woodland, Roseville, Rocklin, and Sacramento areas.
(530) 633-7575
When I first started learning photography, in addition to photographing ALL THE THINGS, I was incredibly interested in macro photography. It intrigued me. The details and the blurry backgrounds seemed beyond reach. Because of this allure, a macro lens was the first lens I purchased (after the kit lens).